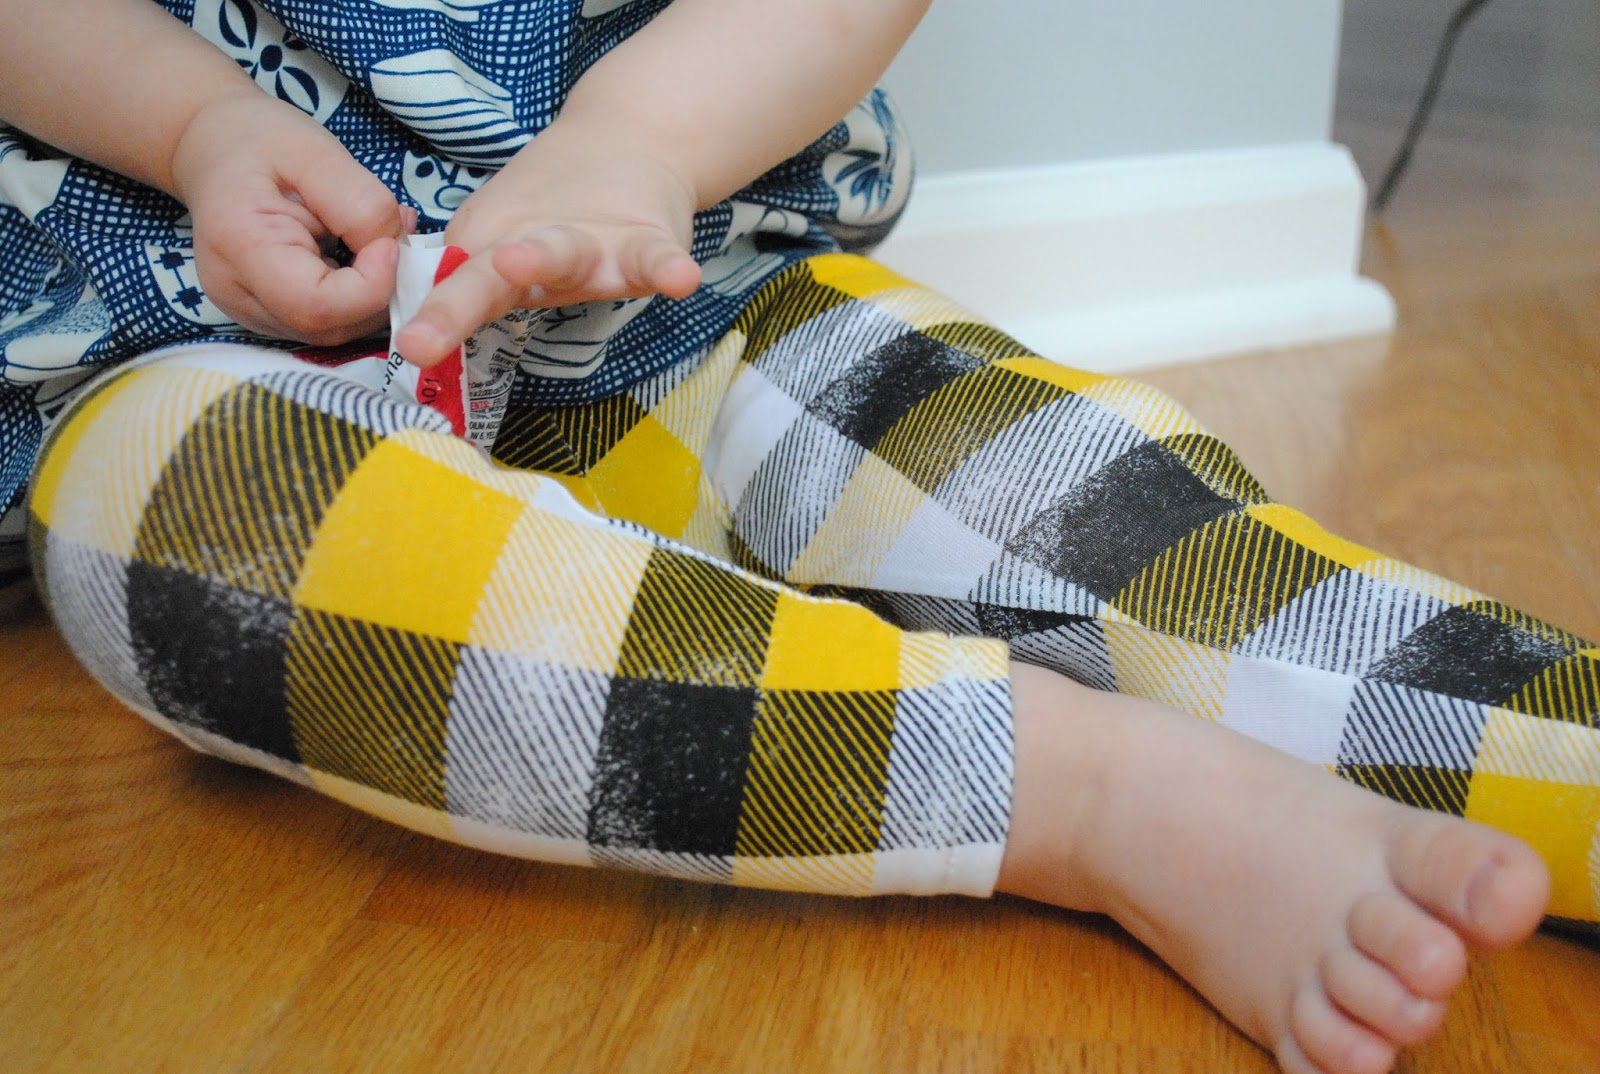
I've been working on a bigger leggings pattern (2T-4T). I'm finding as Jo grows that she doesn't get much bigger around the waist, but her legs just get longer. That means that I can't just take the baby leggings pattern I've been using and enlarge it. Toddlers (for the most part) have a very different body shape than babies. So here we go.
I'll be trying the leggings on other babies besides Jo, but for now she's our only "fit" baby. This is the first try.
For the 2T size I need to add to the length in the leg and also to the rise in front and back and then they'll be perfect!
Jo gets treats when she models for me. Maybe one day she'll do it just because she wants to help me out...
The top is a pattern I'm work-shopping as well. I think it's super cute. Also working on a 3/4 length sleeve for Fall.
Wahoo! Back to work.
Tuesday, August 27, 2013
Monday, August 19, 2013
Shibori + kimono top = super cute
I'm pretty excited about the fabric. I even washed it after I made it and nothing bled! Woohoo!
Jo likes wearing Nick's bike helmet.
She also likes bananas.
Then she wanted to pose with the little child form. I don't know if you can see it, but she has her arm around the mannequin.
So there you go.Later addition to post: I don't think I mention it here, but I hand-dyed the fabric myself. Yay!
Wednesday, August 7, 2013
Fun with Shibori -- Part 3 -- The Reveal
I said that this would be a three part series, but I'm actually only doing a partial reveal today. Sorry, folks. I haven't had a chance to photograph all of the fabric that we dyed and hopefully will be able to do that next week. In the meantime, here is what the process looked like after the dyed pieces sat in the sun for about two hours.
I opened our test piece up right away just to make sure that it looked the way I wanted it to. It did.
Then I started rinsing the other pieces (still bound).
Still wearing gloves, of course, as the dye wasn't completely rinsed out yet.
I opened our test piece up right away just to make sure that it looked the way I wanted it to. It did.
Then I started rinsing the other pieces (still bound).
Still wearing gloves, of course, as the dye wasn't completely rinsed out yet.
I love the way this red piece looked as I was rinsing out. Kind of like a heart or a placenta. Gross? Yes. And also kind of cool.
After rinsing until the water ran clear, it was time to remove the bindings. This was the fun part...sort of. It was pretty meticulous work to snip all of the little bindings, but still mildly contemplative. I actually really like small meticulous tasks -- it allows my brain to stop thinking for a bit.
I only snipped one hole in the fabric...
So after I cut off the bindings I washed the pieces in the washing machine with a little bit of detergent.
Woohoo! Next up: you'll finally get to see how it all turned out. Finally. I know. It's about time.
Thursday, July 18, 2013
Fun with Shibori -- Part 2 -- Dyeing
As promised, here is part two of my shibori experiment: DYEING!
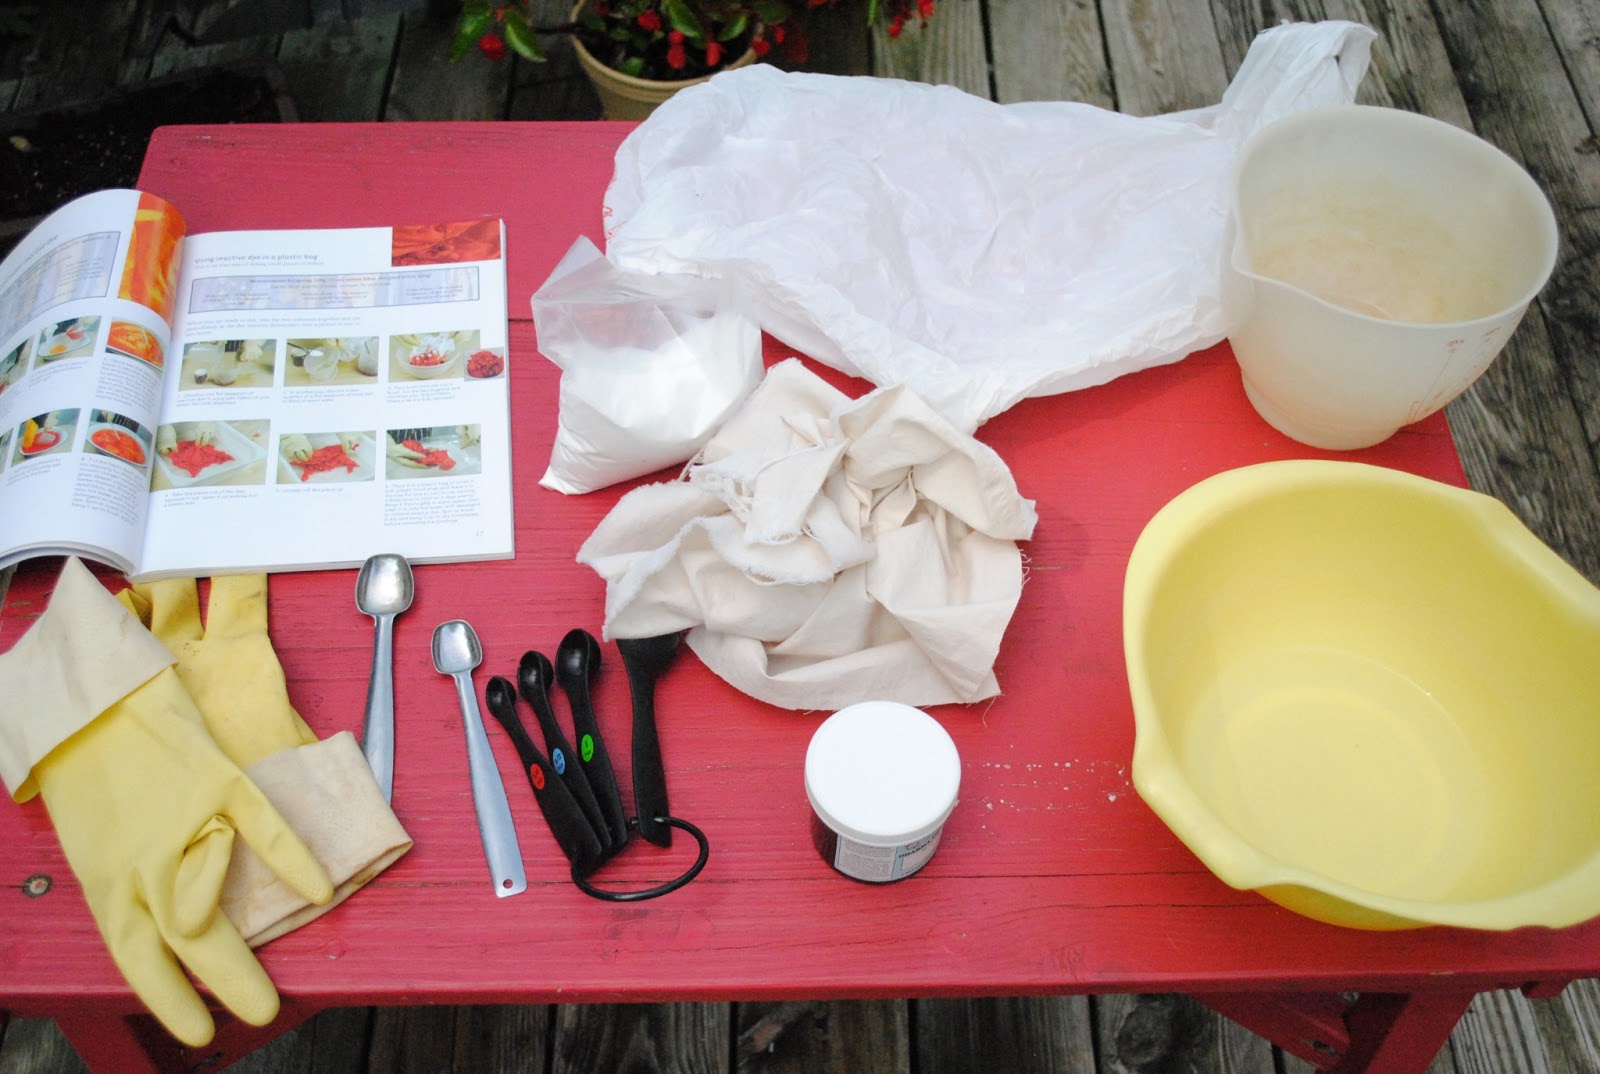
I had to make sure we had the right tools: bowls, measuring spoons and cups, plastic bags, rubber gloves, etc... My mama had given me dyes from Dharma Trading, but you can get them a number of places.
Apparently I was really excited about this project.
Be very precise with measuring. My handy dandy book gave us basic amounts for different color saturation levels.
I had to make sure we had the right tools: bowls, measuring spoons and cups, plastic bags, rubber gloves, etc... My mama had given me dyes from Dharma Trading, but you can get them a number of places.
Apparently I was really excited about this project.
Be very precise with measuring. My handy dandy book gave us basic amounts for different color saturation levels.
Grace, my lovely assistant, stood by and carefully monitored the process.
Notice the kiddy pool in the background? That's where we soaked the fabrics before dyeing.
Grace became an expert at measuring and pouring water.
Then the fabric goes in!
Have to make sure the dye distributes properly. That sounds super official, right?
It looks like this when you take it out. Kind of weird looking.
Look at this determination!
After we dyed, we put the fabrics in a plastic bag (one bag per dye color) and set them in the sun for a few hours. The waiting is the hardest.
Part 3: The Reveal is up next!
Tuesday, July 2, 2013
New looks!
I'm trying out a new pattern that I got from my mama. Here are a few looks with the top, skirt, and pants that I made to all go together. OMG, I just made toddler separates!!
I think I would actually like these pieces in my size...
Monday, July 1, 2013
Fun with Shibori -- Part 1 -- Binding
I haven't posted in a while -- life has been a bit crazy. So now that it's a brand new month, I'm back up and running, and I think I'll start it all off with a three-part series. Yep, that's right. I have a three-part series for you all! Here goes.
On my trip home to Iowa last month I had some time to play around with shibori. What's shibori?
Shibori (according to Wikipedia) is a "Japanese term for methods of dyeing cloth with a pattern by binding, stitching, folding, twisting, compressing it or capping." You may know some of these methods as tie-dye.
I had this handy book that I'd been dyeing to read. Yes, that was a shibori pun...It was a great primer and walked me through basic binding and dyeing techniques.
I had also stocked up on cheap cotton muslin and lawn fabrics. I like to scope out the remnant section for deals. My mama happened to have some string for binding. Hint for next time: get kite string that doesn't break.
I started off with a pattern called the Spider Web. It's really basic, but still looks super cool.This is Grace's spider web binding.
Here you can see what our bindings look like before dyeing.
Apparently, some bindings are considered art. Grace considered hers a hat.
Another method of binding is called capping. You take a small pebble or bean under your fabric and bind tightly around it. We used dry black beans. The book recommends mung beans. The binding at the base of the bean will eventually create white space since the dye won't be able to access the fabric at that point.
The last method I really wanted to try was folding and compressing the fabric. I accordion folded my fabric and then wrapped it with string. I was supposed to compress the folds with two wooden blocks, but I didn't have any...so I worked with what I had. It ended up looking like this when I was done.
And here ends Part 1. Next up: DYEING!
Tuesday, June 25, 2013
Oh man...
I have so many posts to catch up on. I actually have drafts for over five posts and just need to finish them. More soon about my trip home to Iowa with Jo, shibori, our move, an acting class I took, and more fun.
I've been doing lots of sewing lately. Trying out new patterns (R&D) and making clothes for Jo. I'll leave you with this picture of Jo in one of her new tops. Her face just cracks me up.
Subscribe to:
Posts (Atom)