I just got some felt from Etsy and have been meaning to make little slippers for Jo. Since she doesn't really wear shoes, slippers are a great alternative especially when we go for walks. Plus she needs something to match the Easter outfit I have yet to make.
I love this pattern from
Martha Stewart. The template is
here. I made a bunch of these slippers for my friends a few years ago and added little hearts in contrasting colors.Once you get the sizing down, it doesn't take long at all. I whipped up a little pair for Jo in about 20 minutes.
Here's what I did:
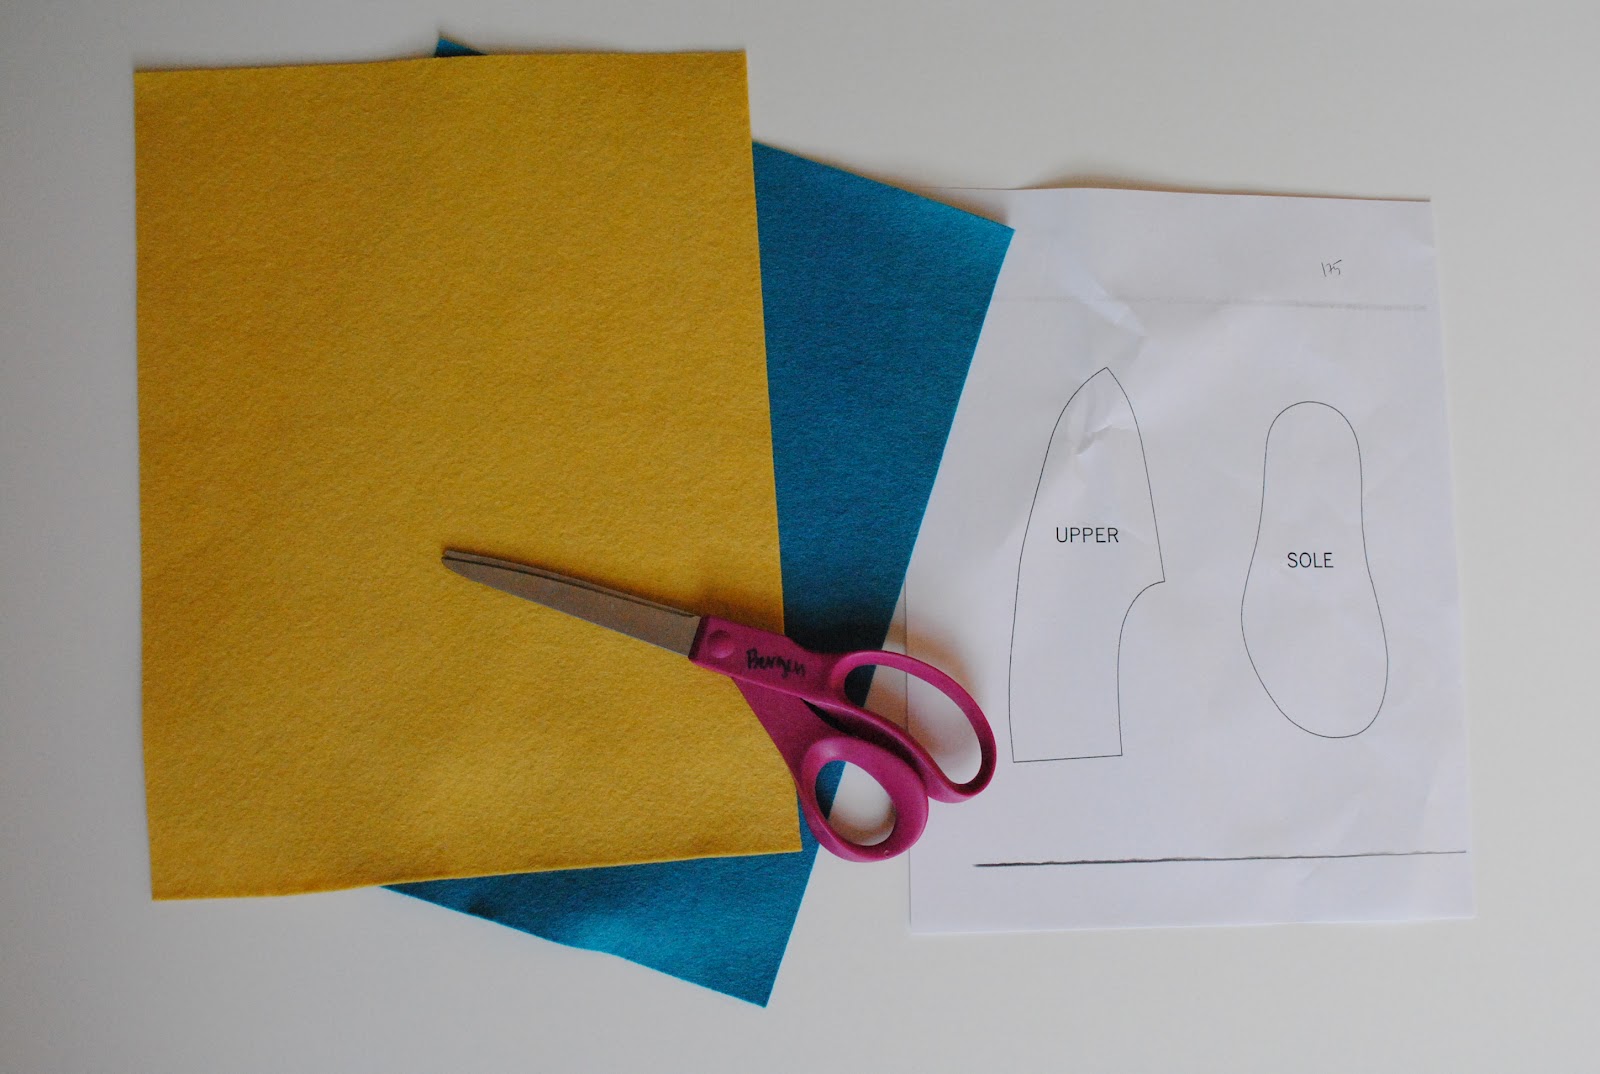
1. Enlarge the template to fit the slipper-wearer. I upped it 175% for Jo's feet. I also picked out a pretty teal and yellow from my felt stash. Yes, my scissors have my name on them.
2. Cut out your felt pieces. I like to use a contrasting color (yellow in this case) for the 1st layer of the sole and the decorative heart.
3. So you end up with four sole pieces, four upper pieces, and two little hearts.
4. Stitch the upper pieces together. Then add the heart or any other little shape you want. Really, you can add anything and put it wherever. Use your imagination.
5. Sew the upper pieces together at the heel.
6. Pin the two sole pieces together (one in each color -- contrasting color on the bottom) and then pin the upper to the sole. They will look like this. Kind of like little felt slipper bugs.
7. Stitch the upper to the sole in two steps. Start on one side of the center front seam and stitch to the center back. Do the same for the other half. I found this works easier than doing one seam around the entire slipper. Voila!
Conclusions (I sound like a scientist, right?):
- I used a very thin felt, but since these are baby slippers I think it's ok. My baby isn't walking yet. When I made slippers for adults I used a 3mm felt. You need the extra thickness for people who are up on their feet.
- My seams were too big. I sewed a 3/8" seam instead of 3/16" which is what Martha recommends. I think this is why the slippers were a little hard to get on Jo's feet. I mean she has big chubby feet, but these slippers should have fit. So, next time I'll make my seams smaller or I'll adjust the pattern.
Jo loves them. She kept trying to put them in her mouth. Oh wait...that's what she does with everything.
Maybe I'll try these patterns next?
Stephanie's sewn felt slippers
More slippers from Martha
I've gotten felt from
FilzFelt before and it's lovely! I've also had my eye on this
felt from purl soho.